
I wanted to make one quick, and as sturdy as possible.
I found some dark fabric my sister gave me, given to her out of a friend's grandmother's estate. I'm not sure what type of material may be mixed in with the cotton, but it's a nice weight.
I decided to cut it 14.5" tall. And, folded in half, I cut it at about 16" (which will be a long piece 32").
NOTE: If you'd rather, feel free to cut 2 pieces at 16.5" wide - then take two seams up the sides, rather than the one for the middle front that I will make in a little bit.


I used a lightweight iron-on interfacing for the 14.5" x 32" piece and attached according to manufacturer's directions, and put it off to the side.
I then cut out fabric for the bag's lining... same size as the bag.
Then I made the flap..
I cut 2 pieces about 2.5" narrower than the one half of the bag (the 16"), and as long (14.5") as the bag.

I folded both pieces together in half lengthwise, then went to the kitchen and got a plate!


NOTE: I also used the lightweight iron-on interfacing on the flap, just for a bit of extra body.
I placed right sides together, and stitched all the way round leaving a nice opening at the straight edge.

I used pinking sheers to cut close to the curved stitching lines, then trimmed the two corners with regular scissors.
NOTE: Used a scrap of batting to clean up all the fuzzy threads and trims off my cutting mat! It works just like a kitchen sponge cleaning off the countertop! It's great!
It was time to press stitches to meld, then turn right side out. To finish the opening, I folded inside the raw edges evenly with the seam line and secured with straight pins.
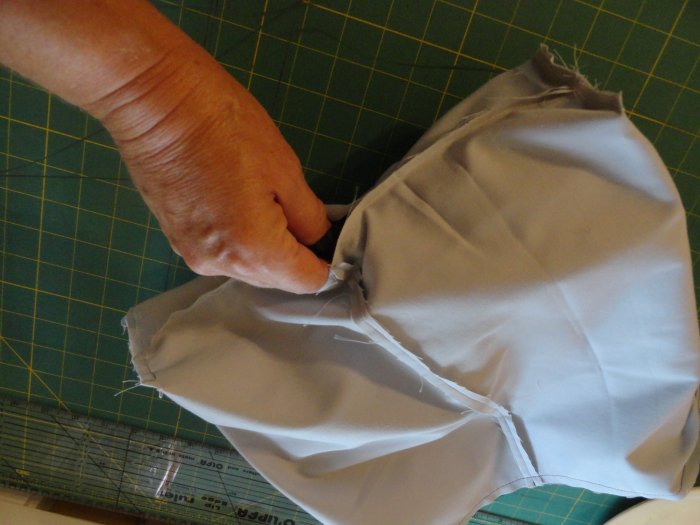
Setting aside the flap for the time being, I prepared the bag's lining:
First: stitch the ends together.
Press to meld, press seam open.
Center the seam line, press sides (to mark where they are!)
Mark (what will be the bottom) 1.5" ....

Cut!


Line up the stitch line, with the press line, then pin and branch out, lining up the cut line...
on both sides... this makes the "gusset" like depth of the bag.


So, this bag's bottom will be 12"!
For the strap, I cut a piece 5" wide and way much too long (58")! You'll see a bit later how I had to "take it up" which will probably work out better anyway because it makes it stronger!
I folded over one side .5" and the other side about 1" then matched the folds. I top stitched along both sides, then again. Another photo later will show you what I'm talking about.

Then I made the "fashion" bag doing exactly the same thing as I did with the lining.
OOPS! I attached the flap down going the wrong way... see the picture below....

The only thing "correct" showing in the photo above is the fact that the flap is attached 1.5" below the raw top edge on the bag fabric and the flap's center is matched to the bag's center.
BUT, the flap should be going the same direction as my ruler! (You'll see how I "fixed" that later on!). Top stitch the flap to the bag twice. Yes. TWICE! We want it to stay attached!
Oh, I wanted to add a clip to the outside of the bag, so I used grosgrain ribbon and attached when I attached the straps.


I use a lot of pins!

Also, when I'm stitching over the straps, and the clip ribbon, I back stitch several times!

Yea! It's time to pull out the "fashion bag"... gently, a bit at a time!
It's coming!!!

I skipped several photo opts between the above and now below...

You can see, however, I top stitched around the bag twice to finish off the bag (so the lining's edge won't creep up). And, here, you'll see where I took a nice deep (about 6" worth) folded over of the strap inside and stitched it down. All those thicknesses is really rough on my machine, but she's a champ!

It wasn't until I took the final photo (coming up!) did I realize I initially
stitched the flap going in the wrong direction!
No big deal... I simply folded it over and top stitched it down.
One only knows if they look inside and see dark stitching across that area!
I don't think the homeless person would ever notice, or care,
or be concerned one bit that I messed up!
Ready to fill it up!!!

This took me about 3 hours... and that was with taking pictures along the way! (This was the total - of course - over a long day of attending a Memorial Service, helping a friend, and doing things around the house. I would love 3 hours of nothing but uninterrupted sewing!)
Also, it's been a while since I made one, at times I had to stop and think about things... the next one shouldn't take as long!
I would love to hear if you make one, a messenger bag for the homeless!
No comments:
Post a Comment
Thanks for commenting, it makes my day!