
A couple of years ago, during that year’s National Sewing Month the theme was:
“Sew for the Skill of it!” It was then I wrote an article about sewing hats.
I shared some hats I made for my 18” dolls, and mostly lady
hats – including a bonnet like my Grandmother would wear out in her garden, and
I’ve been known to wear while mowing the acre yard! The one I’m going to make
today, the Balaclava, is the most amazingly warm style head/neck covering I’ve
ever worn! Although mine is a “store bought” one, it’s the first hat I grab
when the weather turns bitterly cold.
The Balaclava is something
I’d like to include in the messenger bag I created Saturday. I just know any
homeless person would also thoroughly appreciate its warmth. Ever since I discovered
fleece, I’m in love. It’s lightweight, yet WARM!
I went to Pinterest to find Balaclava
patterns others have shared since 2013. Oh, my! Lots!
I appreciate the details provided by The Olive Leaf Journal, and her 3 possibilities of how to wear hers! Just love
it!

Her photos and instructions look great!
But, with the “store-bought” Balaclava
for a go-by, do I need a pattern? I’m going to try it…
I got mine out of the coat closet, measured it (but why? I haven't a clue!)


I took 2 layers of fleece and spread it out nicely (right sides together) then placed mine on top, spreading it out gently and carefully (the fabric will stretch)!
Then I cut around the "store bought" one, giving about an inch all the way around.

Before moving it from the cutting mat, I pinned the pieces together up the back and over the top of the hood part -

- and gave about an inch seam allowance. Then I "pinked" the crown part to reduce a little bulk -

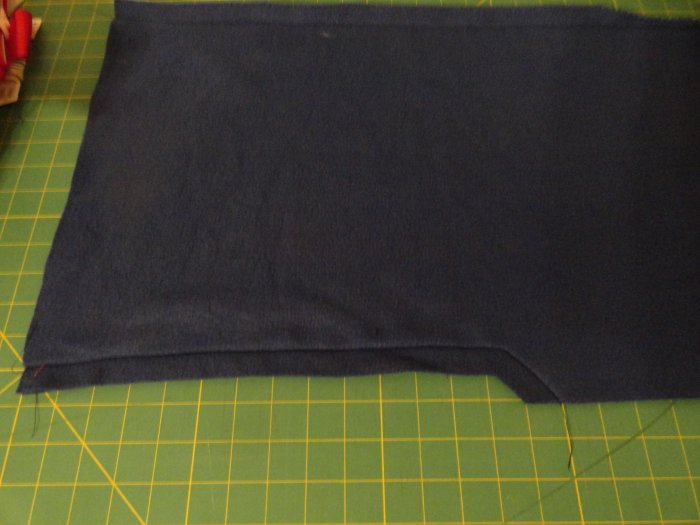
I clipped the angle to almost the stitching line -

Matching the under chin seam, and the top of the head seam, I turned under about an inch hem allowance. Under chin area is a bit tricky and I just sort of eased it in... being careful not to stretch the fabric -

I found removing the part of my machine base - for putting in sleeves, etc., - worked wonderfully in stitching the hem area around the face section..

It didn't turn out too badly...

(NOTE: I decided not to put drawstrings in this one like my "store bought" one has.)
Working the bottom hem, I also turned under about an inch, starting first with matching the seams when turning under...

Actually, mine is a tad longer than the "store bought" one! And besides the drawstring, looks pretty much the same!
I tried it on and it fits the face and comes down on the neck wonderfully! I'm sorry, but it's much too early to put on makeup so you won't be seeing me modeling this!!!

Sometimes, it's a good thing to buy something, and then use it as a go-by to create another one!
